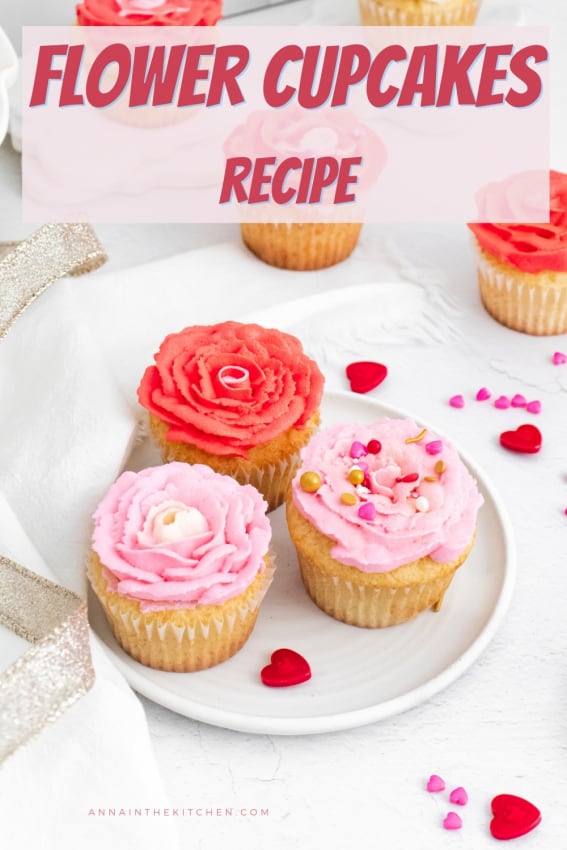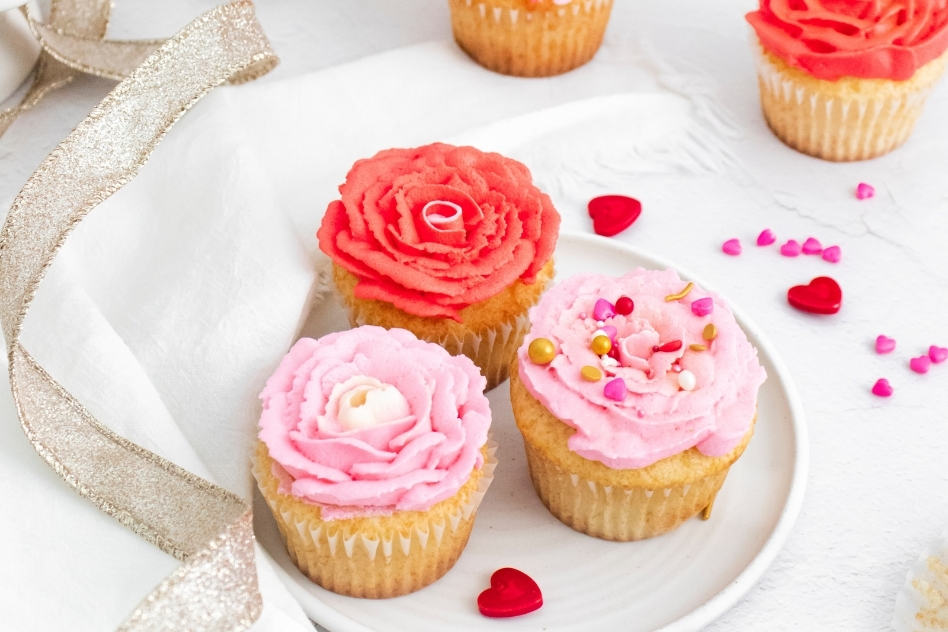
Buttercream Frosted Rosette Cupcakes
Cupcakes are the perfect dessert or tea time snack, but these rosette cupcakes are also a great treat for Valentine’s Day or Mother’s Day!
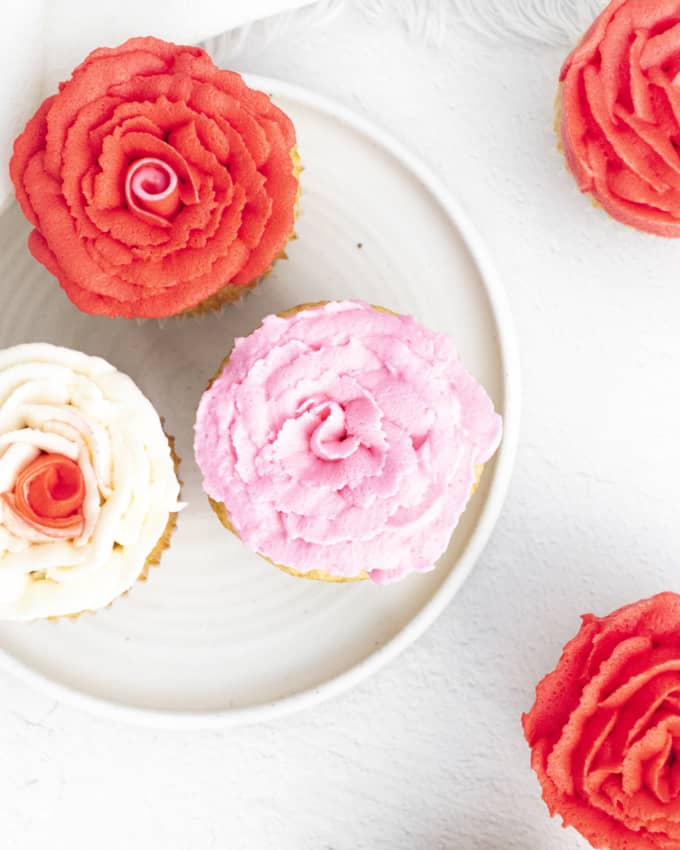
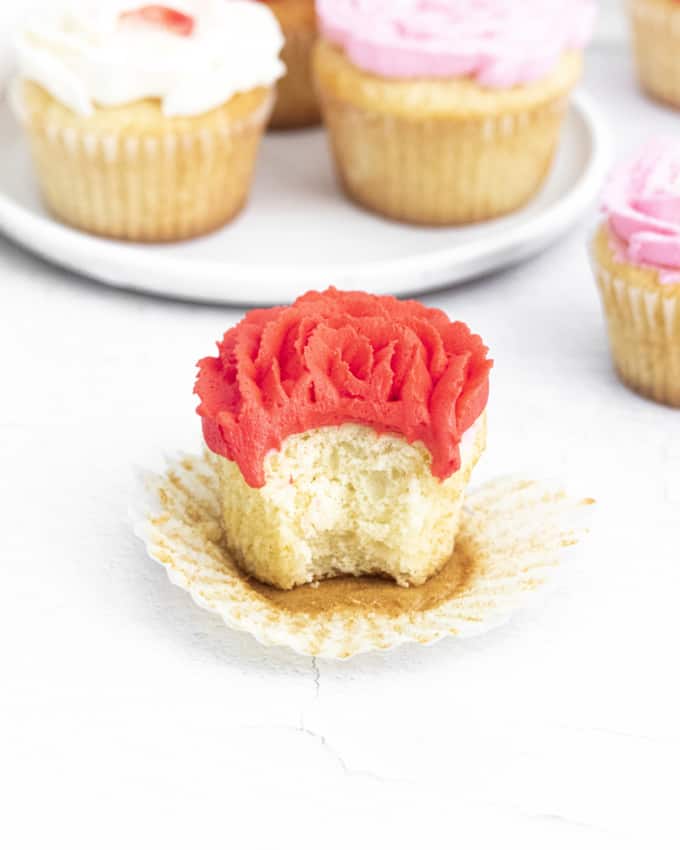
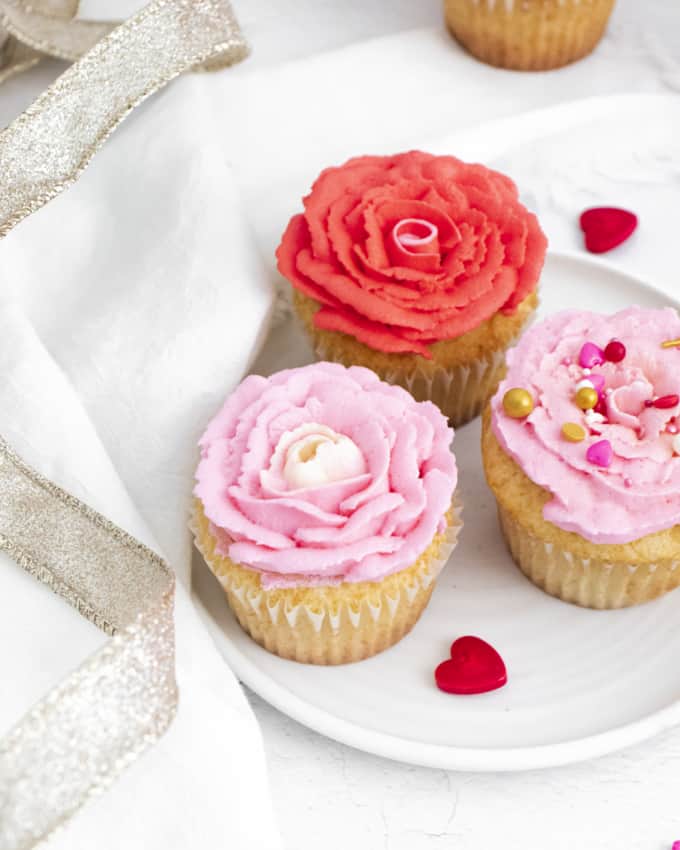
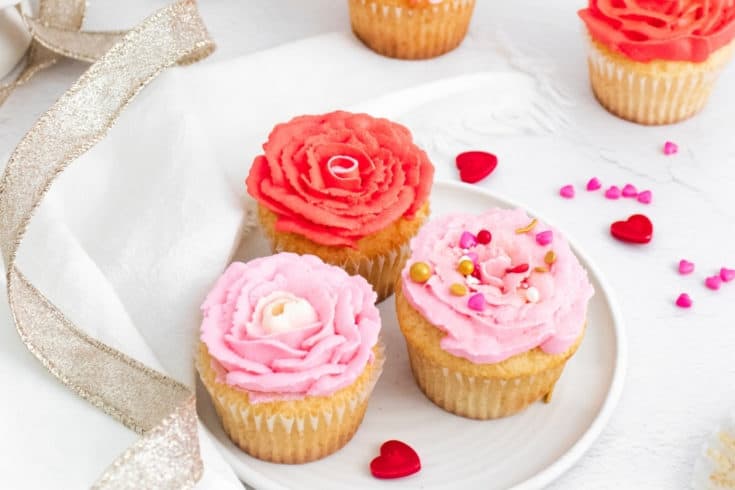
Sweet buttercream roses atop moist vanilla flavored cupcakes are so lush to look at, you might not want to eat them at all. But they taste finger-licking delicious too!
Who Invented Cupcakes?
Cupcakes have been around for centuries in some form of the other. But the first written mention of cupcakes in their current form was in 1796 in Amelia Simmons book called American Cookery, where they were referred to as a “a light cake to bake in small cups”.
The term cupcake was then used in 1828 in Eliza Leslie’s cookbook called “Seventy-five Receipts for Pastry, Cakes, and Sweetmeats”.
Why are They Called Cupcakes?
In the 19th century, cake molds and trays were not as easily available as they are today. At the time, some individual sized cakes were often made in pottery cups. This is how they got the name cupcakes.
But these cupcakes shouldn’t be confused with the other cup cakes that were also called number cakes, 1234 cakes, or quarter cakes. Those cup cakes weren’t shaped like cupcakes, but like regular round or square cakes. They got their name because of the way the ingredients were measured. The traditional recipe for number cakes was 1 cup of butter, 2 cups of sugar, 3 cups of flour, and 4 eggs.
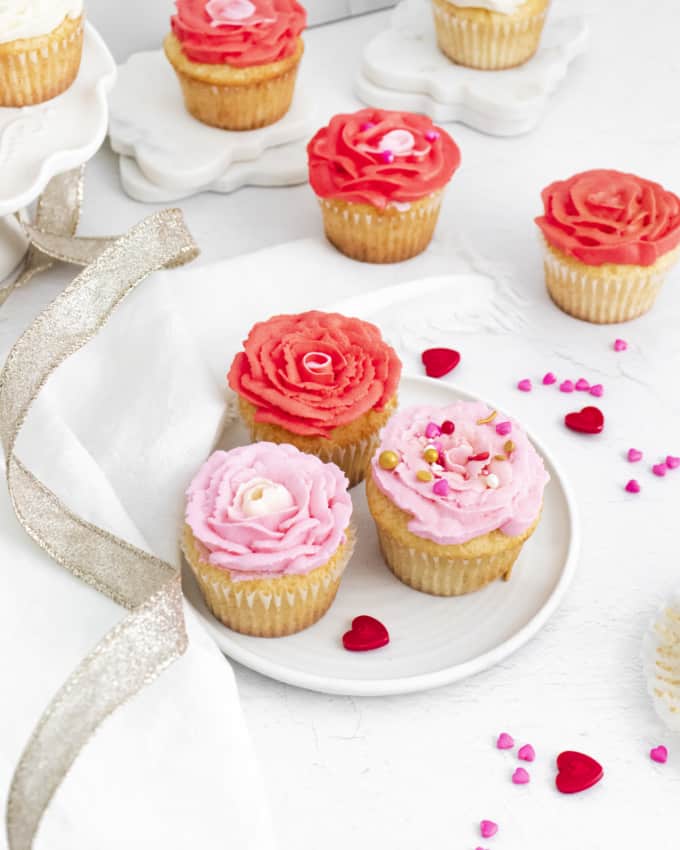
But back to these beautiful rosette valentine’s day cupcakes. They’re so easy to make at home in just under an hour, it’s the perfect treat for any occasion.
Recipe Pointers For Rosette Cupcakes
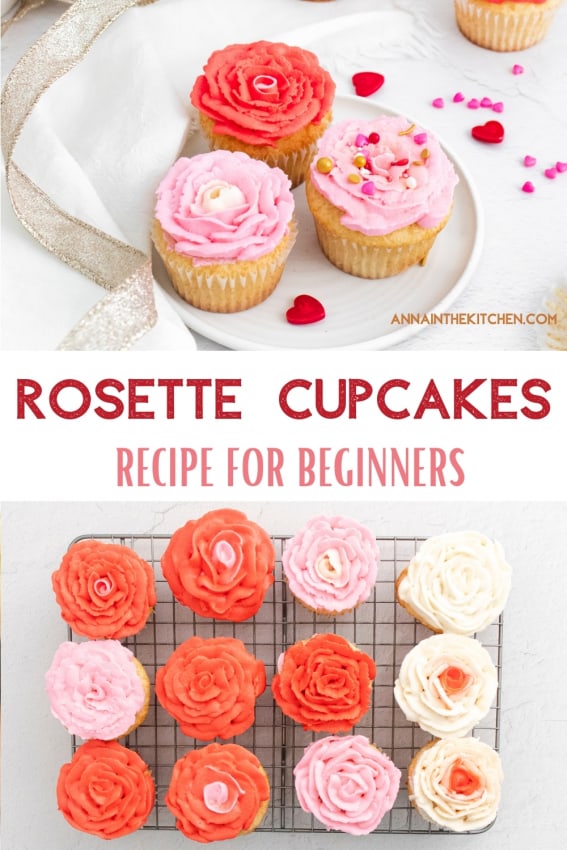
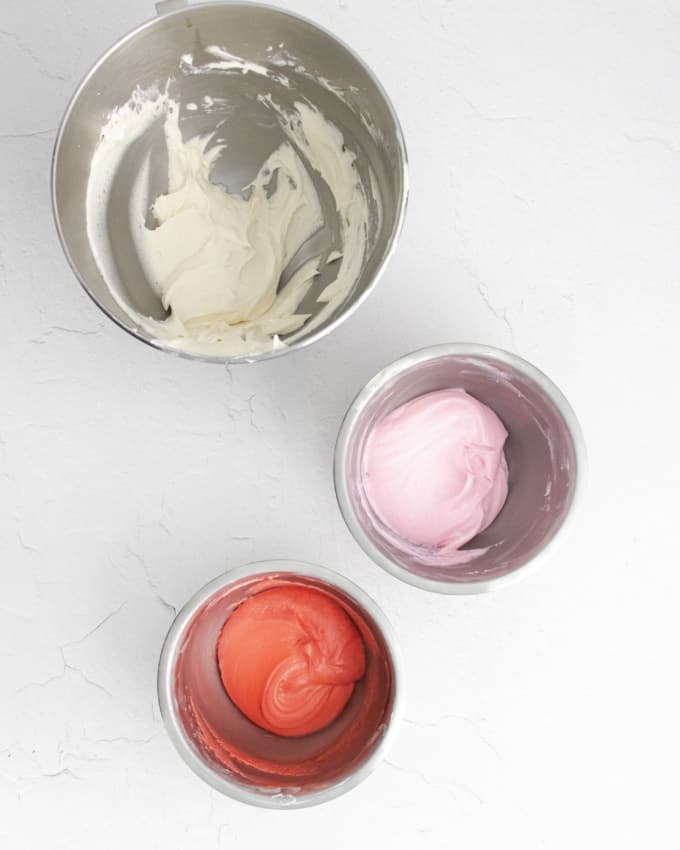
- You can make the rosettes red, pink, or white in color.
- Or you can make tinted roses – simply prepare two bowls of different colored icing, and add them both to the piping bag together.
- Make sure there are absolutely no lumps of sugar remaining in the icing before you start frosting the cupcakes.
- Refrigerate the icing for 15 minutes so that it solidifies before piping the rosettes and they turn out looking more natural.
- The larger the petal tip you use, the better the roses look.
- If you’re making these cupcakes for a party, use mini cupcake molds.
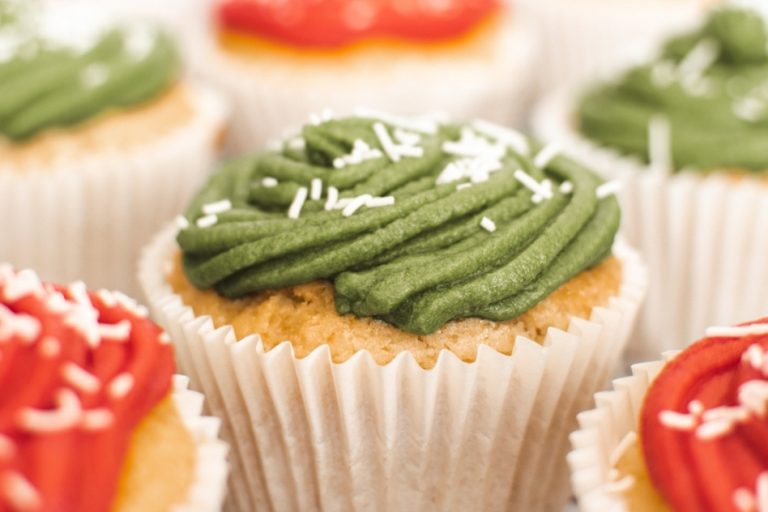
- For a more festive look, you can add sprinkles or tiny hearts to the top of the frosted roses.
- For a Valentine’s Day look, sprinkle luster dust on top of the frosting.
FAQs about Valentine’s Day Cupcakes
Cupcakes are also called fairy cakes or patty cakes. Butterfly cakes or mug cakes are modern variants of cup cakes.
Both cupcakes and muffins use similar ingredients, but while muffins are denser cupcakes are lighter because their ingredients are beaten together longer.
Cupcakes are almost always covered with some sort of frosting, while muffins are uncovered and usually filled with nuts, chocolates, fruit, or some other filling.
Muffins have less sugar and are often considered healthier, but they’re not necessarily so. Another big difference is that while cupcakes are only sweet, muffins can be savory too!
The famous cupcake shop in the series is the Magnolia Bakery in New York City.
National Cupcake Day is celebrated on December 15th every year in the US.
Cupcakes that have been frosted should be eaten within 24 hours. Without frosting, the cupcakes can last for 3 to 4 days at room temperature.
Rosette Cupcakes
Cupcakes are the perfect dessert or tea time snack; but these rosette cupcakes are also a great treat for Valentine's Day or Mother's Day!
Ingredients
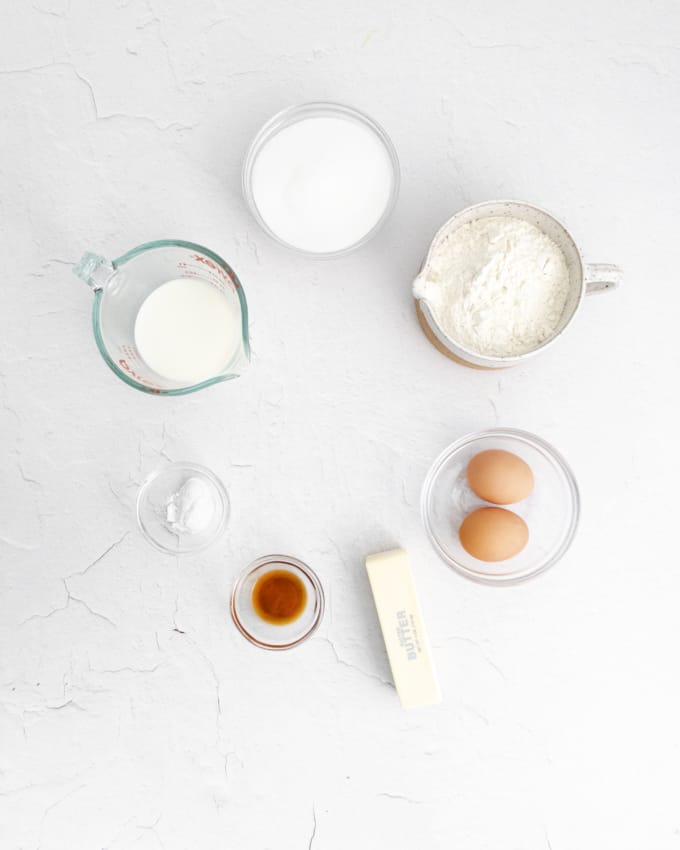
For the Cupcakes
- 1 stick butter, softened
- 1 cup granulated sugar
- 2 large eggs
- 1 teaspoon pure vanilla extract
- 1 ½ cups all purpose flour
- 1 ½ teaspoons baking powder
- ½ cup milk
For the Icing
- 1 stick butter, softened
- 1 brick (8 ounces) cream cheese, softened
- 1 teaspoon pure vanilla extract
- 4 cups Powdered sugar
- Food coloring, optional
Instructions
Make the Cupcakes
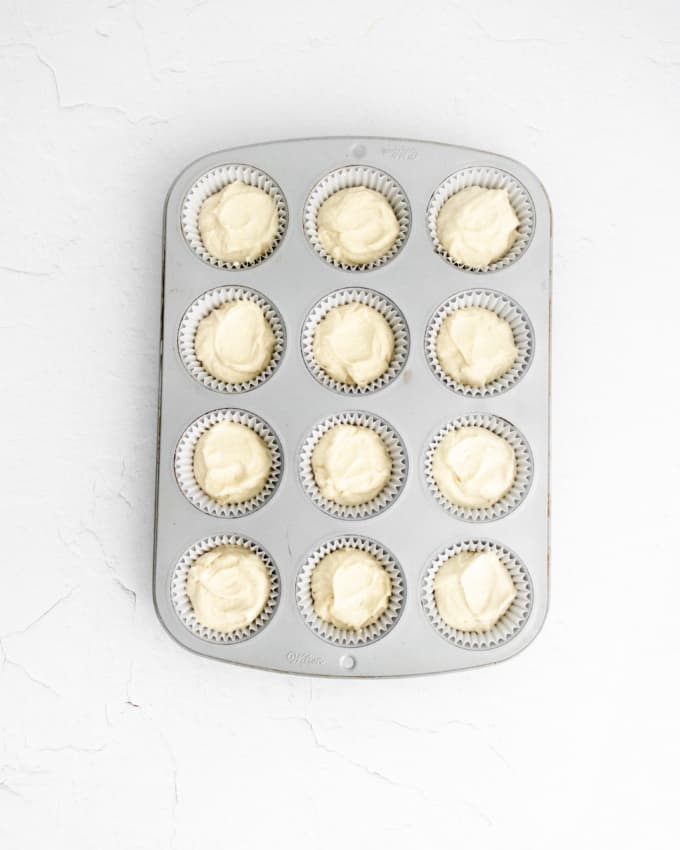
- Preheat your oven to 375F. Line 12 cupcake tins with paper liners.
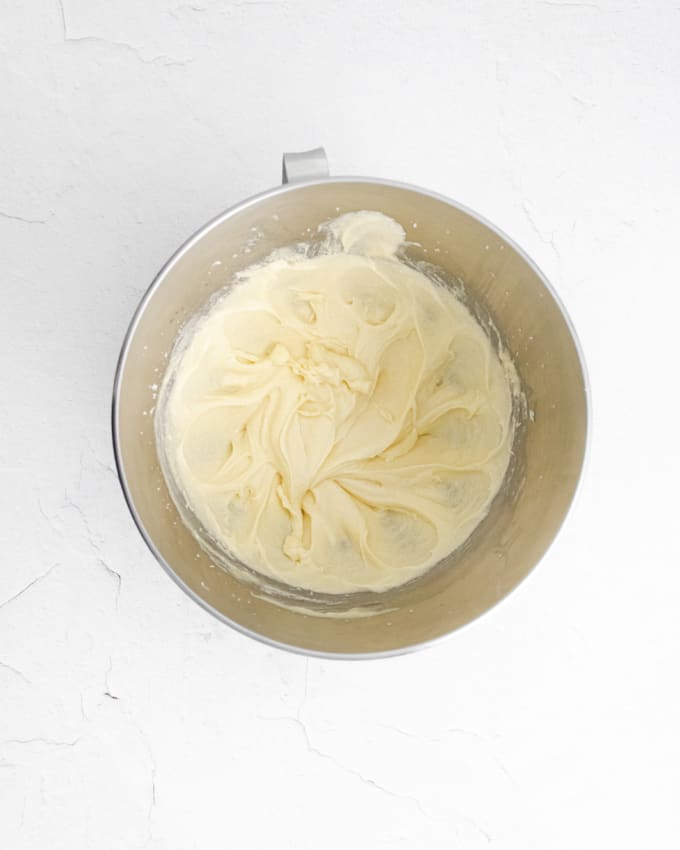
- Add the butter and sugar to the bowl of a stand mixer fitted with the paddle attachment. Beat them together on medium-high speed (Kitchenaid #6-8) until light and fluffy-- about 3 minutes. Scrape down the sides of the bowl.
- Next, add the eggs one at a time. Then add the vanilla extract. Scrape down the sides of the bowl again.
- In a small bowl, combine the flour and baking powder.
- With the mixer on low, add ⅓ of the flour. Next, add ½ of the milk. Then add another third of flour followed by the remaining half of milk. Finally, add the last third of flour.
- Mix just until no large lumps of flour remain. Make sure to scrape down the sides of the bowl so all of the ingredients are fully incorporated.
- Divide the batter between the muffin tins. I use a ¼ cup cookie scoop to ensure that they’re all the same size.
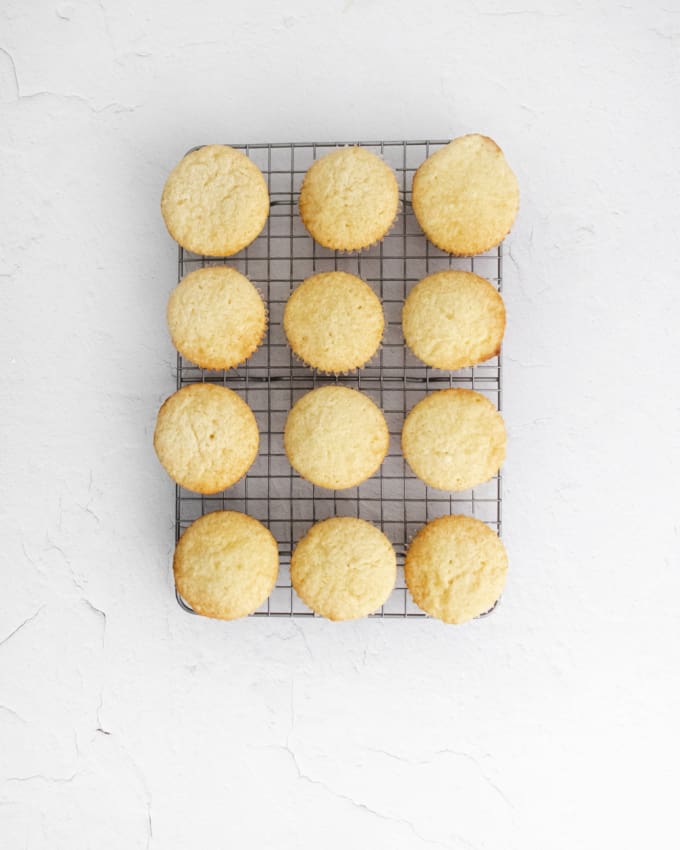
- Bake for 13-15 minutes, or until a toothpick inserted into the center comes out clean.
- Remove the cupcakes to a wire rack to cool. Allow them to cool fully before icing.
Make the Icing
- Add the butter and cream cheese to the bowl of a stand mixer fitted with the paddle attachment. Beat on medium-high speed (Kitchenaid #8) until smooth and creamy-- about 3 minutes. Make sure to scrape down the sides of the bowl a few times.
- Add the vanilla extract and mix to combine.
- With the mixer on low, slowly add the powdered sugar.
- Once no large lumps of powdered sugar remain, turn the mixer to medium-high speed and beat until the icing becomes smooth and light--about 5 minutes.
- Add gel food coloring, if using and then transfer to a piping bag. Place the piping bag in the fridge to chill for 15 minutes before using.
- Store any leftover cupcakes in an airtight container in the fridge for up to two days.
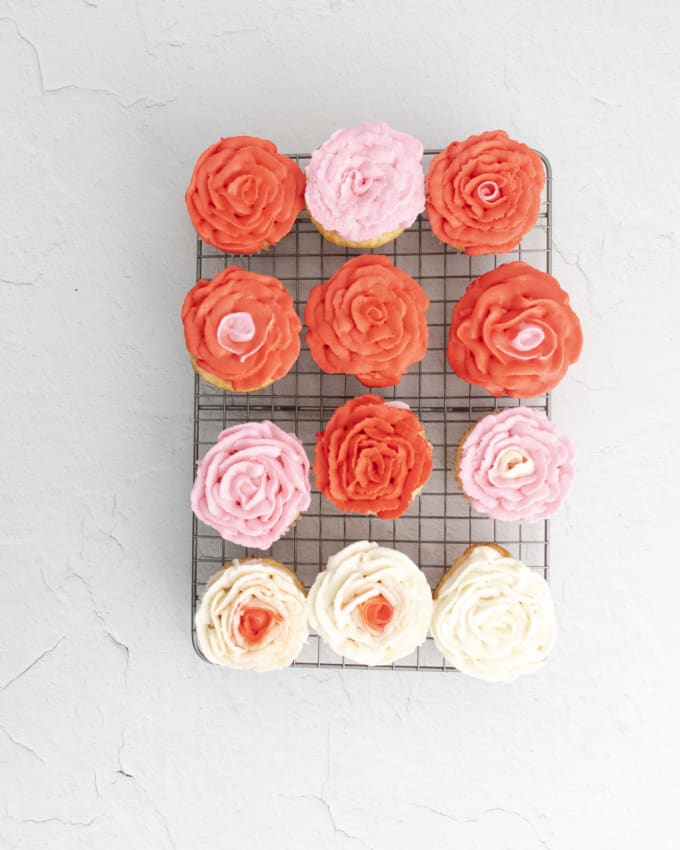
How to Pipe a Rosette
- Place a petal tip on your piping bag— I like Wilton #104.
- Start with the thicker, round end perpendicular to the cupcake (with the pointed end of the tip pointing straight upward).
- In the center of the cupcake, apply light pressure while turning the cupcake 360 degrees to create a small circle.
- Next, create a small arch 1/4 of the way around the inner circle. Repeat the three remaining arches around the circle.
Then, in the center of one arch, start the second layer of arches— beginning and ending in the center of the previous layer. - Repeat the arch process until you fill up the cupcake with arches.
Notes
- Make sure to refrigerate your icing for 15 minutes before piping the rosettes! It will help the icing solidify and truly look like petals.
- To get different color centers in the flowers, change the piping tip from one piping bag to another without washing it in-between.